Spring Boot is a very robust framework that can be used to develop Spring-based applications with the utmost ease. The best thing about this framework? You can simply use Java annotations to do even the advanced configurations with ease. So you can keep your focus mainly on the business logic rather than application configurations. While Spring Boot applications by default work with a single data source, it is also possible to make them work with multiple data sources as well.
A single data source …
Most of the times, the applications we develop requires a single data source to operate. When developing a single data source Spring Boot application, the configuration is very trivial. It is just a matter of defining a few properties on the application.properties file. Following is such a configuration, which shows how to define a MySQL based data source.
# DB connection properties
spring.datasource.url=jdbc:mysql://host:3306/MY_DB
spring.datasource.username = dbUser
spring.datasource.password = password
spring.datasource.driver-class-name=com.mysql.cj.jdbc.Driver

# JPA properties
spring.jpa.hibernate.ddl-auto = validate
spring.jpa.hibernate.naming-strategy = org.hibernate.cfg.ImprovedNamingStrategy
spring.jpa.properties.hibernate.dialect = org.hibernate.dialect.MySQL5Dialect
Once the above properties are defined correctly, all you have left to do is on the JPA level. That is to write the Model classes to represent the tables and to write the Repositories to access those tables. Spring takes care of the rest under the hood!
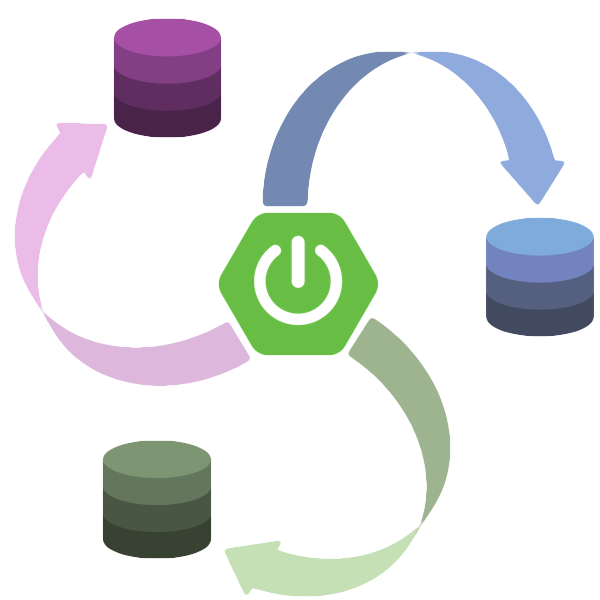
Now assume a scenario where you have 2 existing backend applications working on 2 separate data sources. And it is required to develop a single SB application to manage the data on both these 2 data sources.
So how are you going to configure multiple data sources with a single Spring Boot application? Is that possible at all?
Multiple data sources …
Surprise!!! It is definitely possible and not that complex at all. It only requires writing a few configuration classes with Spring’s annotations. Then defining the data source connection properties in the application.properties file and organizing your repositories and models into packages correctly. So let’s see start with the later first.
Managing Model and Repository packages
One of the main pre-requisites for configuring multiple data sources is the package organization. To be exact, the model classes and repository classes related to the 2 data sources should be in separate packages.
For example let’s assume we have 2 data sources as A and B. Repository classes related to data source A can be in one or more packages, which we will assume as packages com.udith.p and com.udith.q. The condition is that the repositories of data source B cannot be in either of those com.udith.p or com.udith.q packages. But if required, they can be in a sub package of those such as com.udith.p.s.
The same condition goes for Model classes as well. But note that this does not apply for Controller and Service classes.
So for this example, let’s assume that the packages of the repositories and models are as follows.
| Data source A | Data source B | |
| Models | com.udith.model.p | com.udith.model.r |
| Repositories | com.udith.repo.p | com.udith.repo.r |
Defining the Connection Properties
When we are using a single data source, we define the connection property names with the “spring.datasource.” prefix. For example, the connection URL is defined as below.
spring.datasource.url=jdbc:mysql://localhost:3306/MY_DB
But when using multiple data sources, the requirement is that the connection property names of each data source should have distinct prefixes. So let’s define our 2 data source properties as follows.
# Connection properties of Data Source A
spring.datasource.a.url=jdbc:mysql://host1:3306/MY_DB_A
spring.datasource.a.username = dbUserA
spring.datasource.a.password = passwordForA
spring.datasource.a.driver-class-name=com.mysql.cj.jdbc.Driver

# Connection properties of Data Source B
spring.datasource.b.url=jdbc:mysql://host2:3306/MY_DB_B
spring.datasource.b.username = dbUserB
spring.datasource.b.password = passwordForB
spring.datasource.b.driver-class-name=com.mysql.cj.jdbc.Driver
Note that these prefixes can be any valid property name you like and does not have to start with spring.datasource.
Writing Configuration Classes
So let’s move into the Configuration classes. All you have to do is write 2 configuration classes as below for each of your data sources. Each class will define the Spring beans for Data Source, Entity Manager Factory, and Transaction Manager.
So here’s the configuration class for our data source A.
@Configuration
@EnableTransactionManagement
@EnableJpaRepositories(basePackages = {"com.udith.repo.p", "com.udith.repo.q"})
public class ConfigA {

    @Primary
    @Bean(name = "dataSourceA")
    @ConfigurationProperties(prefix = "spring.datasource.a")
    public DataSource dataSource() {
        return DataSourceBuilder.create().build();
    }

    @Primary
    @Bean(name = "entityManagerFactoryA")
    public LocalContainerEntityManagerFactoryBean entityManagerFactory(EntityManagerFactoryBuilder builder,
                                                                       @Qualifier("dataSourceA") DataSource dataSource) {
        return builder
            .dataSource(dataSource)
            .packages("com.udith.model.p", "com.udith.model.q")
            .persistenceUnit("datasourceA")
            .build();
    }

    @Primary
    @Bean(name = "transactionManagerA")
    public PlatformTransactionManager transactionManager(@Qualifier("entityManagerFactoryA") EntityManagerFactory entityManagerFactory) {
        return new JpaTransactionManager(entityManagerFactory);
    }
}
And here’s the one for data source B.
@Configuration
@EnableTransactionManagement
@EnableJpaRepositories(basePackages = {"com.udith.repo.r", "com.udith.repo.s"})
public class ConfigB {

    @Bean(name = "dataSourceB")
    @ConfigurationProperties(prefix = "spring.datasource.b")
    public DataSource dataSource() {
        return DataSourceBuilder.create().build();
    }

    @Primary
    @Bean(name = "entityManagerFactoryB")
    public LocalContainerEntityManagerFactoryBean entityManagerFactory(EntityManagerFactoryBuilder builder,
                                                                       @Qualifier("dataSourceB") DataSource dataSource) {
        return builder
            .dataSource(dataSource)
            .packages("com.udith.model.r", "com.udith.model.s")
            .persistenceUnit("datasourceB")
            .build();
    }

    @Primary
    @Bean(name = "transactionManagerB")
    public PlatformTransactionManager transactionManager(@Qualifier("entityManagerFactoryB") EntityManagerFactory entityManagerFactory) {
        return new JpaTransactionManager(entityManagerFactory);
    }
}
Now let’s briefly discuss some of the important annotations used in the above configuration classes.
- At the top of each configuration class, the
@EnableJpaRepositoriesannotation is added with the propertybasePackages. In this property, we define what are the Java packages that contain the JPA repository classes that are relevant to this particular data source. - Then we define the
dataSource()method, which creates thejavax.sql.DataSourceinstance for this data source. This method also has the@ConfigurationPropertiesannotation with theprefixproperty, which tells Spring that the properties (from application.properties file) prefixed with the given value should be used when creating this data source instance. - The next method
entityManagerFactoryis responsible for creating theorg.springframework.orm.jpa.LocalContainerEntityManagerFactoryBeanbean for the data source. Here we pass the previously created data source instance as a method parameter and also use the builder instance to generate the entity manager factory providing the names of the Java packages that contain the model classes related to this data source. - Finally, the transactionManager method creates the
org.springframework.transaction.PlatformTransactionManagerinstance to be used for this data source. - In addition, you may have been noticed that there is an annotation as
@Primarypresents only in the bean definitions of the first configuration class. This annotation tells Spring to use the data source, entity manager factory and the transaction manager defined in this first configuration class as the primary beans.
Customizing JPA properties
If you have completed the steps up to this point, the basic requirements to use multiple data sources are already completed. But on some occasions, it might be required to customize some JPA properties, for example, the naming strategies used.
When a single datasource is in use, these can also be done by defining as properties in the application.properties file. For an example, you can set the naming strategy as follows.
spring.jpa.hibernate.naming-strategy = org.hibernate.cfg.ImprovedNamingStrategy
However, when the configuration file based data sources are in use (as we have done in previous steps), these properties defined in the application.properties file are not applied due to some reason. Therefore we have to pass them via code to the entity manager factory builder as below.
@Primary
@Bean(name = "entityManagerFactoryA")
public LocalContainerEntityManagerFactoryBean entityManagerFactory(EntityManagerFactoryBuilder builder,
                                                                  @Qualifier("dataSourceA") DataSource dataSource) {
  Map jpaProperties = new HashMap<>();
  jpaProperties.put("hibernate.naming_strategy", ImprovedNamingStrategy.class.getName());
  // any other customized JPA properties
  return builder
       .dataSource(dataSource)
       .packages("com.udith.model.p", "com.udith.model.q")
       .persistenceUnit("datasourceA")
       .properties(jpaProperties)
       .build();
}
Once this step is completed, you have successfully configured multiple data sources with a Spring Boot application.


